Connect your Canon camera to FrameFast
These cameras use Connect to EOS Utility in their menu. The camera shows its Wi-Fi SSID and password on screen, and you connect from your iPhone.
Supported models
What you need
- FrameFast installed on your iPhone
- A charged camera from the list above
- File format set to JPEG or RAW + JPEG — FrameFast does not transfer RAW-only files
- Your iPhone near the camera
- 1
Show the camera’s Wi-Fi credentials
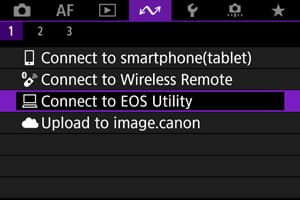
On the camera1.1 MENU → Communication functions → Connect to EOS Utility.
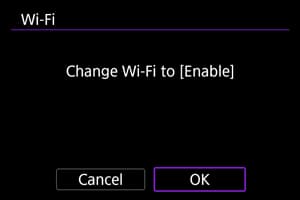
1.2 If prompted to enable Wi-Fi, select OK.
1.3 Select Add a device to connect to.

R1 / R5 Mark II only: the camera shows a wizard — select New settings → Wi-Fi → OK. Other models skip straight to the next screen.
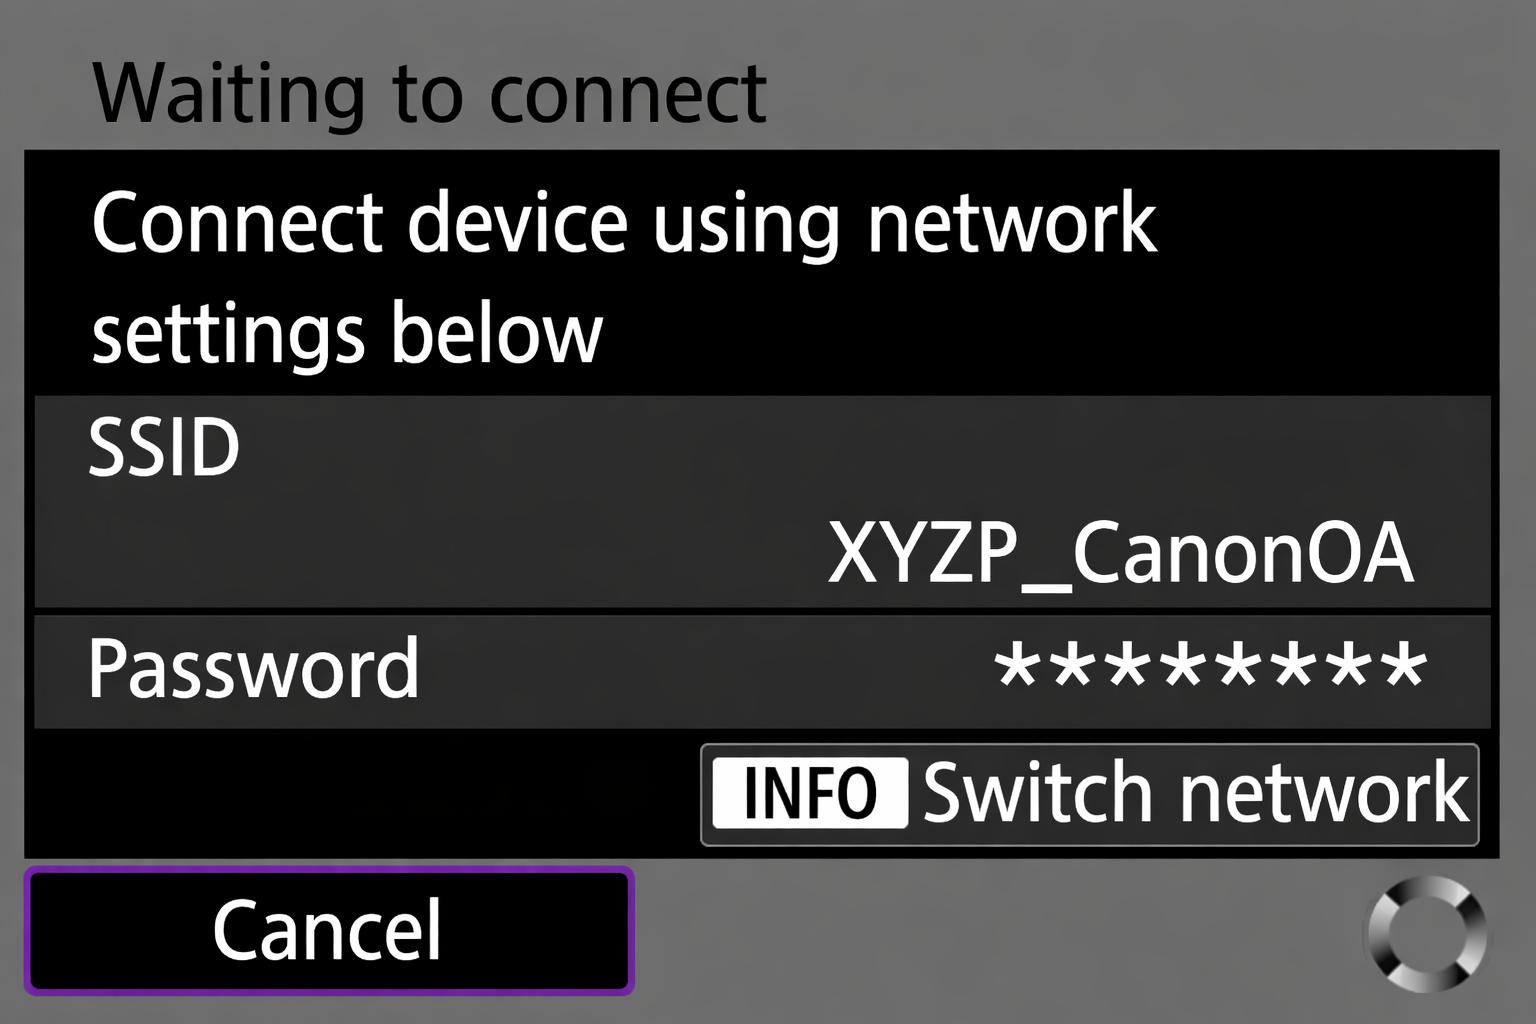
1.4 The camera displays an SSID and Password on screen. Keep this screen open.
EOS R50 note: the menu tab is called Wireless features instead of Communication functions, but the rest is the same.
- 2
Join the camera Wi-Fi
On your iPhoneSettings → Wi-Fi → select the network matching the camera's SSID (ends with _Canon0A) → enter the password from the camera screen.
- 3
Start pairing on the camera
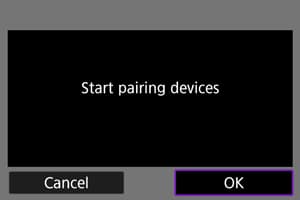
On the camera3.1 Go back to the camera and press OK. The camera shows Start pairing devices. Press OK.
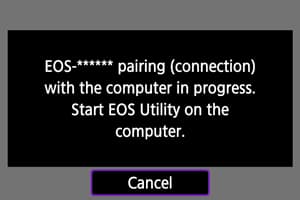
3.2 The camera shows a pairing message while it waits for FrameFast to connect.
- 4
Open FrameFast and select Canon
On your iPhoneOpen FrameFast → Capture tab → tap + → select Canon.
The app confirms you’re on the camera Wi-Fi. Tap Next.
- 5
Pick an event and upload mode
On your iPhoneSelect the event you’re shooting for, then choose an upload mode:
- Real-time upload — photos upload to the cloud as you shoot. Requires internet.
- Shoot offline — photos are saved locally and uploaded later when you’re back online.
- 6
Connectivity setup (real-time only)
On your iPhoneIf you chose Shoot offline, skip this step.
If you chose Real-time upload and the app detects no internet, it walks you through configuring the network so your iPhone can reach both the camera and the internet.
You only need to do this once per camera.
- 7
Camera found
On your iPhoneFrameFast scans the network and finds your camera. Tap it to connect.
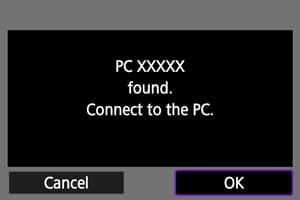
Confirm on the camera
On the cameraThe camera shows a connection confirmation with the device name. Press OK to connect.
The screen changes to [Wi-Fi on]. Every photo you take now appears in FrameFast and uploads to your event.
Troubleshooting
FrameFast can’t find the camera
- Confirm your iPhone is on the camera’s Wi-Fi, not your regular network.
- Check the SSID screen is still showing on the camera.
- Go to Settings → FrameFast and ensure Local Network is enabled.
Connection drops
- Move your iPhone closer to the camera.
- Turn off Bluetooth temporarily.